Your Guide to google calendar app for desktop: Setup & Tips
Discover how google calendar app for desktop can streamline your schedule. Learn installation, customization, and smart tips to boost productivity.
Calendar0 Team
October 25, 2025

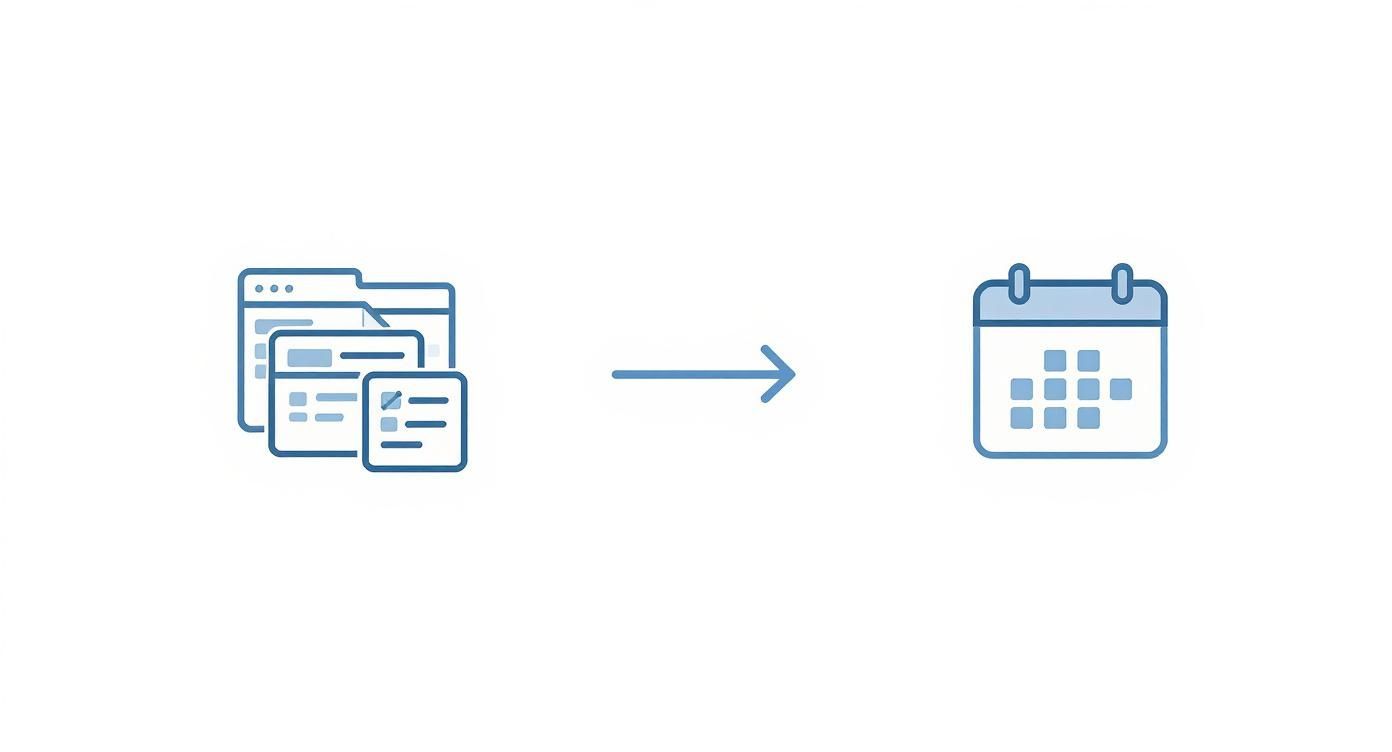
Let's be honest, how many browser tabs do you have open right now? If your Google Calendar is just one of them, it's probably getting lost in the shuffle. A dedicated Google Calendar app for desktop pulls your schedule out of that digital chaos and puts it exactly where you need it: front and centre.
Why a Desktop Calendar App Is a Game Changer
The browser is a battlefield for your attention. Your calendar, arguably one of the most critical tools for a productive day, is forced to compete with emails, Slack messages, and a dozen other tabs. Every time you flip over to check your schedule, you're one click away from a distraction that can completely derail your focus. We all know how draining that constant context-switching can be.
A standalone desktop app solves this beautifully by giving your calendar its own space. It lives right there in your dock or taskbar, always just a single click away. This simple change transforms your calendar from a passive website you visit to an active, integrated part of your workflow. The benefits are immediate and real:
- Fewer Distractions: By isolating your calendar from the browser's endless vortex, you minimise the digital noise that shatters your concentration.
- Quicker Access: Stop hunting for the right tab. A dedicated icon means your schedule is always visible and accessible in a second.
- Better Notifications: Native desktop alerts are just more reliable and less annoying than browser pop-ups, making sure you never miss an important reminder.
A More Focused Way to Manage Your Time
This isn't just about convenience; it's a fundamental shift in how you approach your time. For busy professionals, switching to a dedicated Google Calendar app for your desktop is a powerful step towards real efficiency, helping you increase your productivity at work. It encourages a far more deliberate and organised way of managing your schedule.
When you give your calendar its own dedicated home on your desktop, you’re making a conscious decision to prioritise your time. This small action reinforces the importance of your schedule and keeps you better aligned with your goals for the day, week, and beyond.
In Germany, for example, where Google Calendar is a major player, around 23.3% of users already prefer a desktop platform. With Google Chrome's massive market share there, the official PWA is a natural choice for professionals who need robust features like timezone management. Ultimately, moving your calendar out of the browser and onto the desktop creates a focused command centre for your entire day.
How to Install the Official Google Calendar PWA
Want the official Google Calendar app on your desktop? It's surprisingly easy to get, but you won't find it in any app store. Instead, we'll use a neat browser feature to create a Progressive Web App (PWA).
Think of a PWA as a website that you "install" on your computer. It gets its own icon in your Dock or Taskbar, runs in a clean window without browser tabs, and just feels more like a dedicated, native program. The whole process is handled right inside Google Chrome, which makes sense since they're both Google products.
Finding the Installation Prompt
First, head over to the Google Calendar website in your Chrome browser and make sure you're logged into the right account.
Once the page loads, glance up at the address bar. On the far right, you should spot a small icon that looks like a tiny monitor with a downward-pointing arrow. That’s the "Install app" button. It’s pretty subtle, so it’s easy to miss if you don't know what you're looking for.
Here’s the little icon you need to find in the Chrome address bar.
When you see that icon, it's Chrome’s way of telling you the site is PWA-ready and can be installed directly onto your machine.
Give it a click. A small pop-up will appear asking you to confirm. Just hit "Install," and Chrome takes care of the rest.
Instantly, your Google Calendar will pop open in its own dedicated window, free from the clutter of browser tabs and bookmarks. It also conveniently adds a shortcut to your desktop, Start Menu (on Windows), or Launchpad (on macOS) for easy access later.
By installing the PWA, you’re not just making a bookmark. You’re setting up a much more focused, app-like experience with perks like offline access and better-integrated notifications, which we’ll tackle in the next section.
Choosing Your Desktop Calendar Method
Is the official PWA the right move for you, or would a dedicated third-party app serve you better? It really comes down to your workflow and what you need your calendar to do. This table breaks down the main differences to help you decide.
| Feature | Official Google Calendar PWA | Third-Party Calendar Apps |
|---|---|---|
| Core Experience | The familiar Google Calendar website, just in its own window. | Often a unique, redesigned interface. |
| Account Support | Google accounts only. | Can usually connect Google, Microsoft, iCloud, and more. |
| Advanced Features | Limited to what the website offers. | Frequently add features like natural language input. |
| Performance | Generally lightweight and fast. | Varies by app; some can be resource-intensive. |
| Cost | Completely free. | Often have a subscription or one-time purchase fee. |
| Offline Access | Basic offline viewing is supported. | Offline capabilities differ widely between apps. |
| Integration | Good integration with other Google services. | Can offer deeper integrations with non-Google tools. |
For most people, the official PWA is a fantastic, no-cost way to get a focused calendar experience. However, if you're a power user juggling schedules across different services like Google and Microsoft, you might hit a ceiling.
That's where more advanced tools come in. For instance, if you want to seamlessly combine multiple calendar accounts and use features like natural language event creation, you might want to explore what's possible when you download Calendar0. It offers a different set of tools built for professionals who need to manage complex schedules with maximum efficiency.
Setting Up Your Desktop App for Peak Productivity
Just installing the app is the easy part. The real magic happens when you spend a few minutes dialling it in to match your actual workflow. Let's turn your new Google Calendar app for desktop from a simple bookmark into a proper, integrated part of your daily grind.
We’ll make it instantly accessible, get the notifications just right, and even make sure it works when your internet decides to take a break.
Pin for Instant Access
The whole point of a desktop app is to stop hunting through browser tabs. To make sure your calendar is always right where you need it, you’ll want to pin it to your Taskbar on Windows or your Dock on macOS. It’s a small tweak, but it makes a huge difference.
- On Windows: After you launch it for the first time, just right-click the calendar icon in your Taskbar and hit "Pin to taskbar." Now it’ll stay put, ready for a single click.
- On macOS: With the app running, right-click its icon in the Dock. Float your mouse over "Options" and then click "Keep in Dock." Done. Your calendar is now a permanent fixture.
This simple action builds a powerful habit. Your schedule is no longer out of sight and out of mind; it’s a constant, visible anchor for your day.
Automate Your Morning Routine
Why bother manually opening your calendar every single morning? You can set the app to fire up automatically when you start your computer, making sure your schedule is the very first thing you see. It’s a great way to get your head in the game before the day runs away from you.
To get this going, open up Chrome and type chrome://apps into the address bar. Find the Google Calendar icon, right-click on it, and select "Start app when you sign in." From now on, your calendar will be waiting for you as soon as you log in—one less thing to think about.
By making your calendar launch on startup, you're essentially programming your environment for success. It’s a proactive step that ensures you’re immediately aligned with your priorities without having to think about it.
Master Your Desktop Notifications
Let's be honest, browser notifications are easy to ignore. Native desktop alerts? Not so much. The PWA can deliver these more prominent alerts, but you need to give it permission first.
Start by jumping into your Google Calendar settings (click the little gear icon). Under "Event settings," you'll find "Notifications." You'll want to make sure you've selected "Desktop notifications."
Next, you need to give the green light in your operating system. Both Windows and macOS have a central spot for managing notifications where you can grant permission to specific apps. Once you’ve allowed it, you'll get timely alerts that feel properly integrated with your computer, not just another random browser pop-up.
Enable Offline Calendar Access
What happens when your Wi-Fi flakes out? With offline mode enabled, your schedule stays right where it is. This is an absolute lifesaver for anyone who works while travelling or just has a spotty internet connection at home.
To switch it on, head back to your calendar's settings. In the left-hand menu, under "General," you’ll spot an "Offline" option. Give that a click and check the box that says "Turn on offline calendar."
Google will then sync a few weeks of your calendar data right onto your machine. Now you can view your schedule, check your appointments, and plan your day from anywhere, connection or not.
Master Advanced Calendar Management on Your Desktop
Alright, now that you've got your calendar out of a browser tab and pinned to your desktop, it's time for the real magic. This is where you graduate from just scheduling events to building a command centre for your entire life. Honestly, trying to manage anything complex in a cluttered browser is a recipe for disaster. A dedicated app window is where you can finally get serious about organising your professional and personal worlds.
The first move? Creating separate calendars for different parts of your life. This isn't just about being tidy; it’s about gaining instant clarity.
- Work Calendar: For all your meetings, project deadlines, and focus blocks.
- Personal Calendar: For doctor's appointments, social plans, and family stuff.
- Side Project Calendar: To carve out dedicated time for that freelance gig or personal passion.
Give each one a unique colour. Suddenly, a quick glance tells you the whole story of your day. Is it wall-to-wall work meetings (all blue), or is it packed with family activities (green)? That visual cue is surprisingly powerful.
Elevate Your Event Creation
With your calendars neatly segmented, you can start digging into the more advanced event details. This is so much easier inside a dedicated app, where you aren't fighting with a dozen other open tabs for your attention.
Ever tried setting up a recurring team meeting that happens every other Tuesday but needs to skip public holidays? It's a nightmare in a tiny browser pop-up, but a breeze in a full app view. Same goes for attaching files. You can link Google Drive documents—like the meeting agenda or project brief—directly to an event. This little habit saves so much time later, because no one has to dig through their inbox to find the right document.
And of course, integrating Google Meet is seamless. One click adds a video call link to the invite, automatically sending it to everyone. It’s a simple action that just removes friction from setting up virtual meetings. For those of us juggling different platforms, keeping everything in sync is another challenge. We've actually put together a guide on the Outlook and Google Calendar sync that offers some practical tips on this front.
Using a dedicated desktop app for these advanced functions isn't just about convenience. It's about building a reliable system. When your calendar is your single source of truth for meetings, documents, and video links, you reclaim valuable mental energy.
A Practical Example: Team Project Planning
Let’s make this real. Imagine you're kicking off a new project. Start by creating a shared calendar called "Project Alpha" and invite the whole team.
Then, you start populating it with the key milestones:
- Kick-off Meeting: A one-time event, but you'll attach the project brief directly from Google Drive.
- Weekly Check-ins: A recurring event every Monday morning with a permanent Google Meet link.
- Design Sprint: A multi-day event that blocks out everyone's schedule, signalling that it's time for deep, focused work.
This level of detail is exactly how professionals operate. In Germany, for instance, you can see how deeply Google Calendar is embedded in business workflows. Over 10,000 German websites use its widgets, which shows just how essential a well-managed calendar is.
To truly take your calendar management to the next level, you need to merge your schedule with your to-do list. The process of adding tasks directly into Google Calendar is a game-changer. It creates one unified view of what you need to do and when you need to do it.
Essential Shortcuts and Tips to Save You Time
The real reason to pull your calendar into a dedicated desktop app is simple: speed. Once you move past the basics, you can transform your Google Calendar app for desktop into a tool that genuinely saves you time, day after day. It all starts with getting comfortable with keyboard shortcuts.
Instead of clicking through endless menus, try committing a few key commands to muscle memory. You’ll soon be managing your schedule with a speed and fluidity a mouse just can't match.
- Create a new event instantly: Just press "c".
- Jump straight to today's date: Hit "t" to get back to the present.
- Search your entire calendar: Tap the "/" key to bring up the search bar.
- Switch between views: Use the number keys—"1" for Day, "2" for Week, "3" for Month.
These aren't just minor conveniences. They're tiny efficiencies that stack up, dramatically cutting down the friction of daily planning.
Go Beyond Basic Scheduling
With the shortcuts down, it's time to dig into some of Google Calendar's more powerful—and often overlooked—features. These are the tools built to automate common scheduling headaches and protect your most valuable asset: your time.
A perfect example is setting your working hours. You’ll find this in your settings under "General." By defining when you're available, Google Calendar will automatically warn anyone who tries to book a meeting with you outside of that window. It’s a polite, automated way to set boundaries and fend off those dreaded late-night meeting requests.
This feature pairs beautifully with another gem called Appointment slots. Instead of the endless email back-and-forth trying to pin down a time, you can create a block on your calendar and share a link. People can then see your available slots and book a time that works for them directly. If you deal with external clients or colleagues, this is an absolute game-changer. It’s also a powerful time-saver, a principle we touch on in our guide on how to schedule an email in Outlook to better control your communication flow.
Using features like Working Hours and Appointment Slots shifts you from being reactive to proactive. You’re no longer just responding to meeting requests; you’re designing a schedule that works for you and guiding others to interact with it efficiently.
Reclaim Your Focus Time
Finally, don't forget to use your calendar for your own productivity, not just for meetings with other people. Google's Goals feature is perfect for this.
Want to exercise three times a week or set aside time to learn a new skill? Just tell Google Calendar your goal, and it will intelligently find open slots in your schedule to make it happen.
If a conflict pops up, the app will automatically reschedule your goal for another free time. It’s a clever way to ensure your own development doesn't get steamrolled by an avalanche of meetings. By pulling these tips together, your calendar becomes less of a simple scheduler and more of a strategic partner in managing your time.
Got Questions About the Desktop App? Let's Clear Things Up.
Even with a simple setup, it’s natural to have a few questions about how this whole Google Calendar desktop app thing actually works. I get these all the time. Let's dig into the most common ones so you can get the most out of your new, focused calendar setup.
A lot of people think they’ve missed an official app somewhere in an app store. It's a fair assumption, but the reality is actually much simpler.
Is There an Official, Standalone Google Calendar App?
Short answer: no. Google hasn't released a traditional, downloadable programme you'd find in the Mac or Windows App Store.
The official route—and the one I recommend—is installing the website as a Progressive Web App (PWA) straight from your browser. Don't let the name fool you; this gives you an experience that's practically identical to a native app. You get a proper desktop icon, notifications that feel like they belong on your operating system, and even offline access.
For all intents and purposes, it is the standalone app you’re looking for.
How Do I Actually Get Google Calendar Notifications on My Desktop?
This is where most people get tripped up. Getting notifications to work isn’t a single switch; it’s a two-step approval process, and both steps have to be done right.
First, you have to tell Google Calendar it's allowed to send them. You’ll find this setting by clicking the gear icon > Settings > Event settings > Notifications. Just make sure "Desktop notifications" is selected.
But here's the crucial second part: you also have to give your computer permission to show them. Both macOS and Windows have system-level controls for which apps can send you alerts. You need to dive into your system settings, find the notifications section, and give the green light to your browser (or the PWA you just installed). Using the PWA makes these alerts much more reliable in my experience.
Think of it like this: Google Calendar asks to send a letter, but your operating system is the postman. The postman needs permission to actually deliver it to your door. Both have to be on the same page.
Can I Use the Google Calendar Desktop App When I’m Offline?
Yes, absolutely. This is one of the most powerful features of using the PWA, but it isn’t turned on by default. You have to enable it first.
Head back into your calendar’s settings via the gear icon. In the menu on the left, under the "General" tab, you'll spot an "Offline" option. Click it, then tick the box to "Turn on offline calendar."
Once you do that, Google will start syncing your recent and upcoming calendar data right to your computer. If you make changes while you're offline—say, deleting an event while on a flight—it will just queue them up and sync everything automatically the next time you have an internet connection. It makes the desktop app a genuinely dependable tool, even when your Wi-Fi isn't.
Ready to stop juggling calendars and start saving time? Calendar0 unifies your Google and Microsoft accounts into one smart, AI-powered view. Schedule meetings with natural language, find availability instantly, and save up to 20 minutes every day. Try it for free at https://www.calendar0.app.